

Wall mural installation mistakes can transform your dream design into a visible disaster that draws attention for all the wrong reasons. Even the most stunning mural can’t overcome bubbling edges, misaligned panels, or peeling corners.
The difference between professional-looking results and amateur attempts often comes down to avoiding a few critical errors during the installation process. Let’s explore the most common wall mural installation mistakes and how you can sidestep them for a flawless finish.
Contents
Why Wall Preparation Matters
Proper wall preparation is the foundation of a successful mural installation. A smooth, clean surface ensures your mural adheres properly and displays beautifully in both commercial offices and residential spaces. Wall mural installation mistakes often begin with inadequate surface preparation.
Uneven surfaces or residual dust create bubbling and peeling that become immediately visible once your mural is in place. Many DIY enthusiasts rush through this crucial first step, not realizing that wall imperfections telegraph through even premium materials.
Top Mistakes to Avoid
1. Ignoring Proper Cleaning and Priming
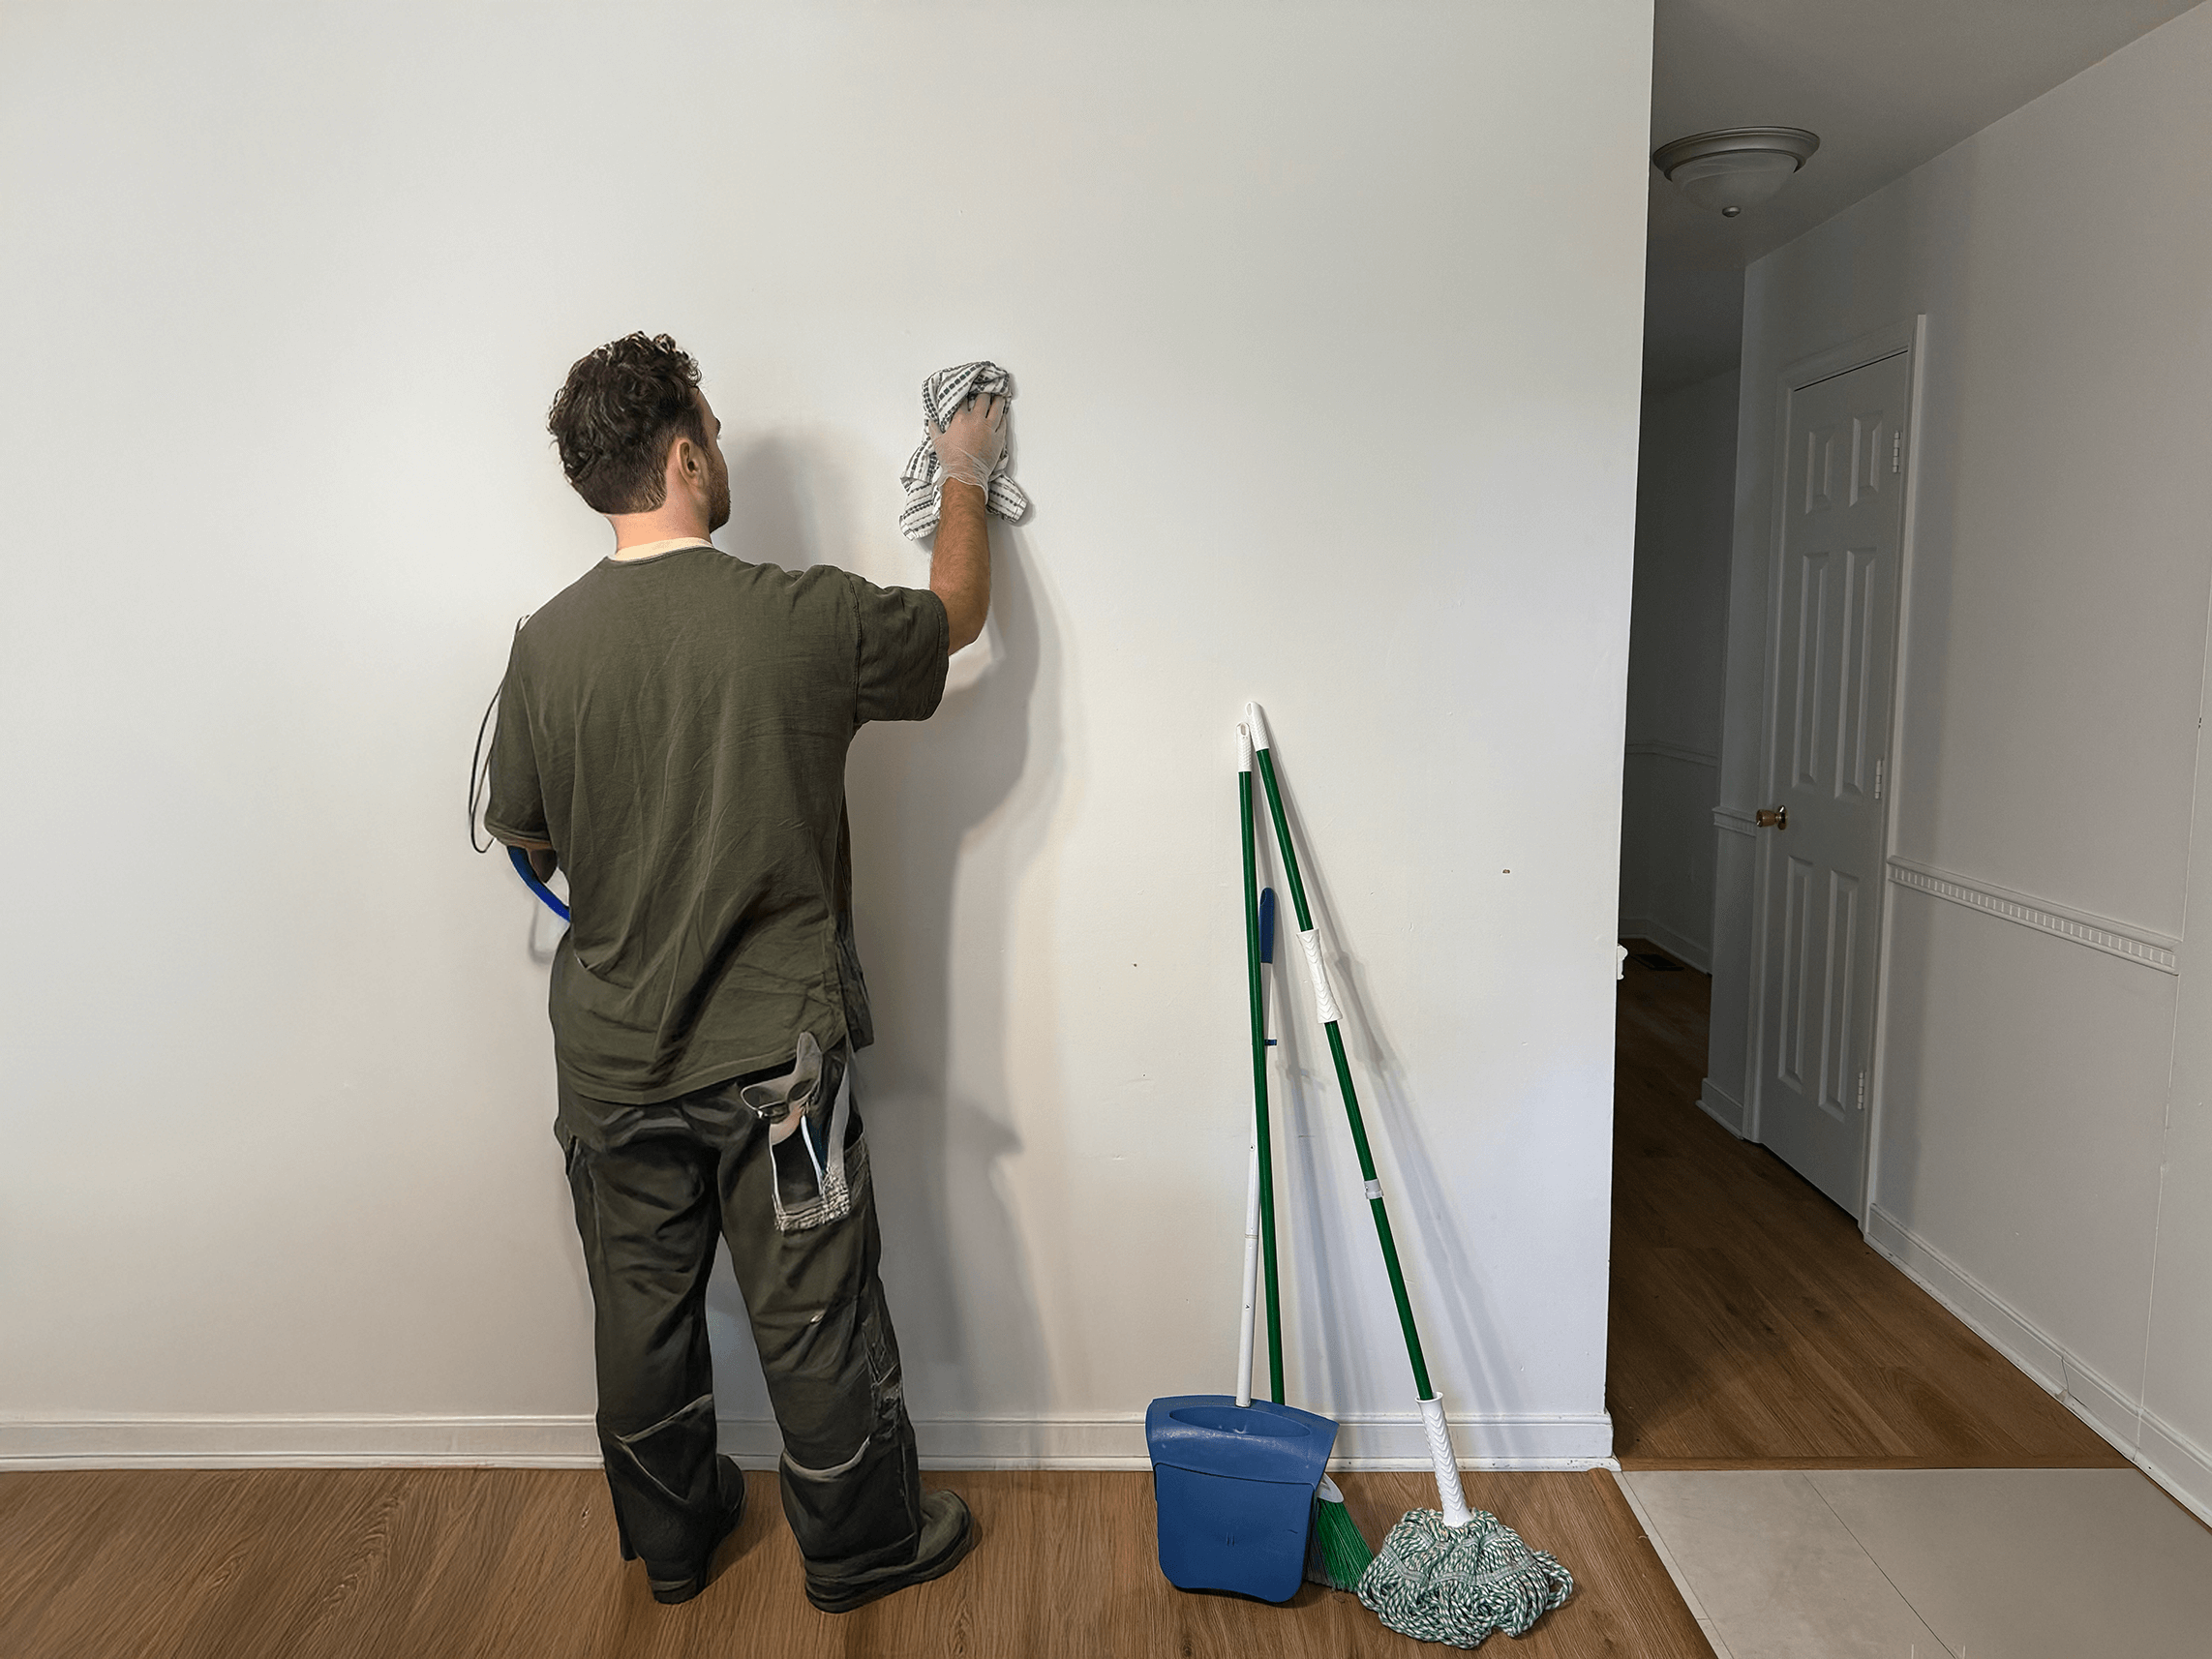
Failing to thoroughly clean your wall surface prevents proper bonding between the adhesive and wall. Even surfaces that appear clean may have invisible contaminants that compromise adhesion.
- Proper cleaning technique: Wash walls with a mild detergent solution and allow 24-48 hours of drying time before installation.
- Common oversight: Skipping the cleaning step entirely or not allowing sufficient drying time.
2. Choosing Unsuitable Adhesives
Not all adhesives work with all wall surfaces or mural materials. Using incompatible products can result in immediate failure or premature peeling months later.
Self-adhesive murals require different handling than paste-applied options. Always verify that your adhesive is specifically formulated for your wall type and mural material.
3. Failing to Measure and Plan Layout
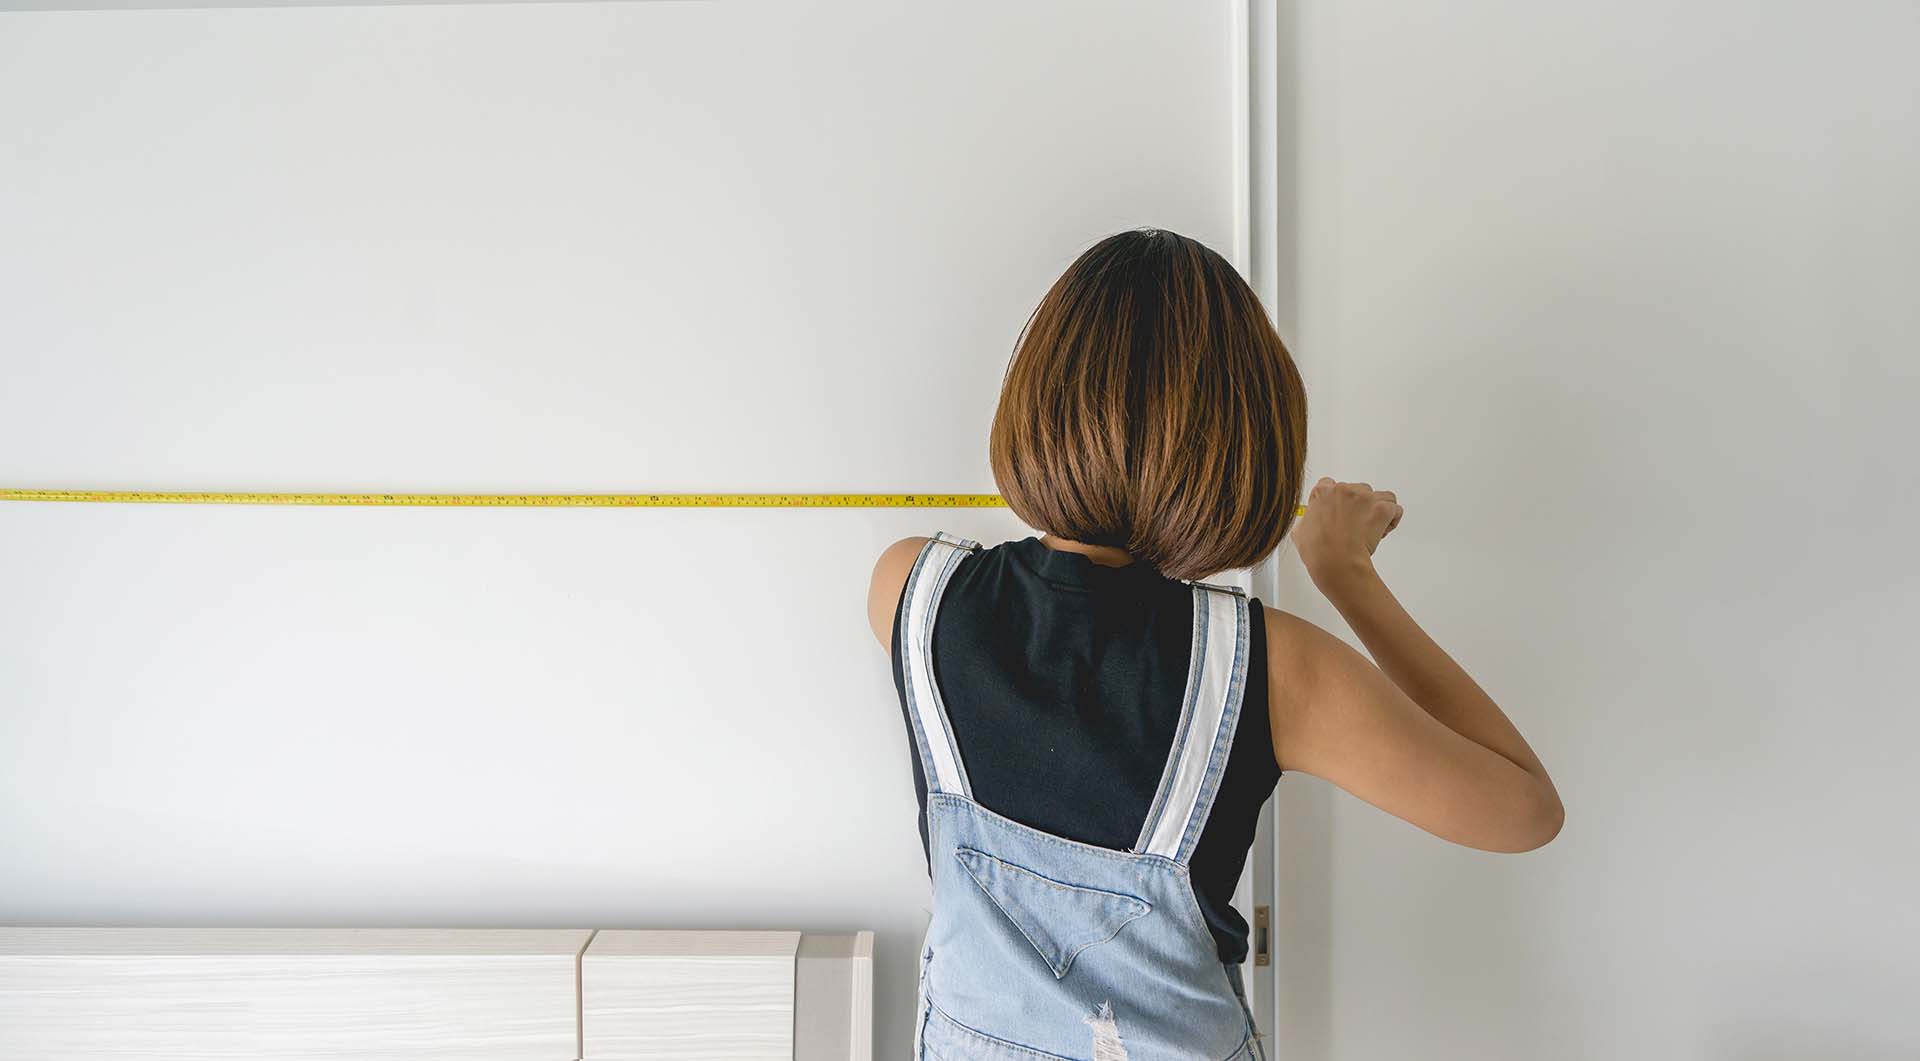
Improper measuring leads to misaligned panels and wasted material. Many installers don’t account for pattern repeats or create an installation plan before beginning.
Commercial spaces with large wall areas require especially careful planning to ensure seamless visual flow. Measure your wall multiple times and create a detailed layout plan before cutting any material.
4. Misaligning Panels and Seams
Imprecise panel alignment creates visible seams that draw attention to the installation rather than the design. This wall mural installation mistake is particularly noticeable with patterned murals where images must match perfectly across panels.
- First panel importance: The initial panel sets the foundation for all subsequent panels.
- Professional tip: Use a level and plumb line to ensure your first panel is perfectly straight.
5. Skipping Thorough Smoothing
Air bubbles and wrinkles ruin the professional appearance of any mural. Many DIYers fail to work methodically from the center outward when smoothing each panel.
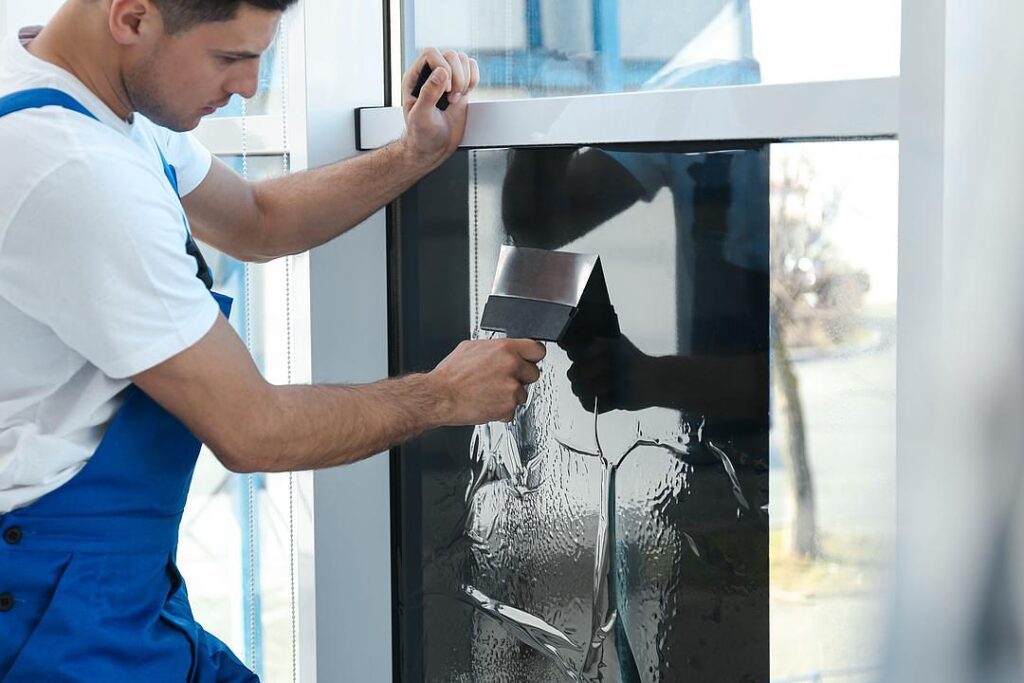
Trapped air pockets can expand with temperature changes, causing sections to detach over time. Use a proper smoothing tool and work in small sections with consistent pressure.
6. Making Quick Cuts and Trims
Hasty trimming around outlets, switches, and corners leads to jagged lines and unprofessional results. Impatience during this final stage can undermine all your previous careful work.
Always use a fresh, sharp blade for each cut and take your time around detailed areas. This attention to detail distinguishes professional-looking installations from amateur attempts.
Tips for Avoiding Common Pitfalls
Step 1: Gather Essential Tools
Professional-quality installation requires proper tools beyond just the mural and adhesive. Having the right equipment prevents improvisation that leads to wall mural installation mistakes.
Essential tools include:
- Level and plumb line
- Smoothing squeegee with felt edge
- Sharp utility knife with replacement blades
- Tape measure
- Seam roller for joining panels
Step 2: Follow Appropriate Bonding Methods
Different mural materials require specific application techniques. For paste-applied murals, the “book and relax” method allows proper adhesive activation.
Self-adhesive murals need careful peeling and positioning to prevent premature sticking. Read manufacturer instructions completely before beginning—techniques vary significantly between products.
Ensuring Long-Term Durability
Environmental factors significantly impact mural longevity after installation. Humidity fluctuations can cause expansion and contraction that stress adhesive bonds.
Direct sunlight exposure may fade colors or affect adhesion over time, particularly in commercial settings with large windows. Premium materials are engineered to withstand environmental variations while maintaining visual impact.
- Temperature considerations: Install murals when room temperature is between 65-75°F for optimal adhesive performance.
- Humidity awareness: Avoid installation during extremely humid conditions as moisture affects adhesion.
Elevate Your Space With Artople

Avoiding wall mural installation mistakes begins with selecting the right materials for your project. Our premium decorative films and wall murals are designed with both professional installers and DIY enthusiasts in mind.
The superior quality of our products helps minimize common installation issues while delivering stunning visual results. We’ve engineered our murals to be more forgiving during installation while maintaining exceptional durability in both commercial and residential applications.
Our decorative films transform ordinary surfaces into extraordinary design elements that enhance any environment. Whether you’re looking to add visual interest to office spaces or create a focal point in your home, our curated collection offers solutions that combine beauty and functionality. If you’d like some inspiration for your home, visit our page on custom wallpaper ideas.
Explore our collection of designs or inquire about custom options that perfectly match your vision in the Artople online store.